Pallet Coffee Table
on Jul 23, 2012, Updated Mar 18, 2024
We are participant in the Amazon Services LLC Associates Program, an affiliate advertising program designed to provide a means for us to earn fees by linking to Amazon.com and affiliated sites. Please see my disclosure policy.
We did it ourselves again! I am so happy my boyfriend has found a new love for making pallet furniture with me! Building something together is really a true test of a relationship. It really causes you to hear each other and work together to create something beautiful. He is also building a bar at his house now with pallet wood and it is turning out great! We have slowed down our condo hunt, so by the time we do find a place, it will be completely furnished with pallet wood! Can you say bargain shoppers? If you can, you have to say it like this. Haha BLs!
Anyways, here is another DIY with lots of pictures! The only things we bought at Home Depot for this project was:
– 4×4″ 6 ft. Post (cut into 4, 1 1/2 ft. pieces)
– Box on 2 in. wood screws
– Red Mahogany Stain
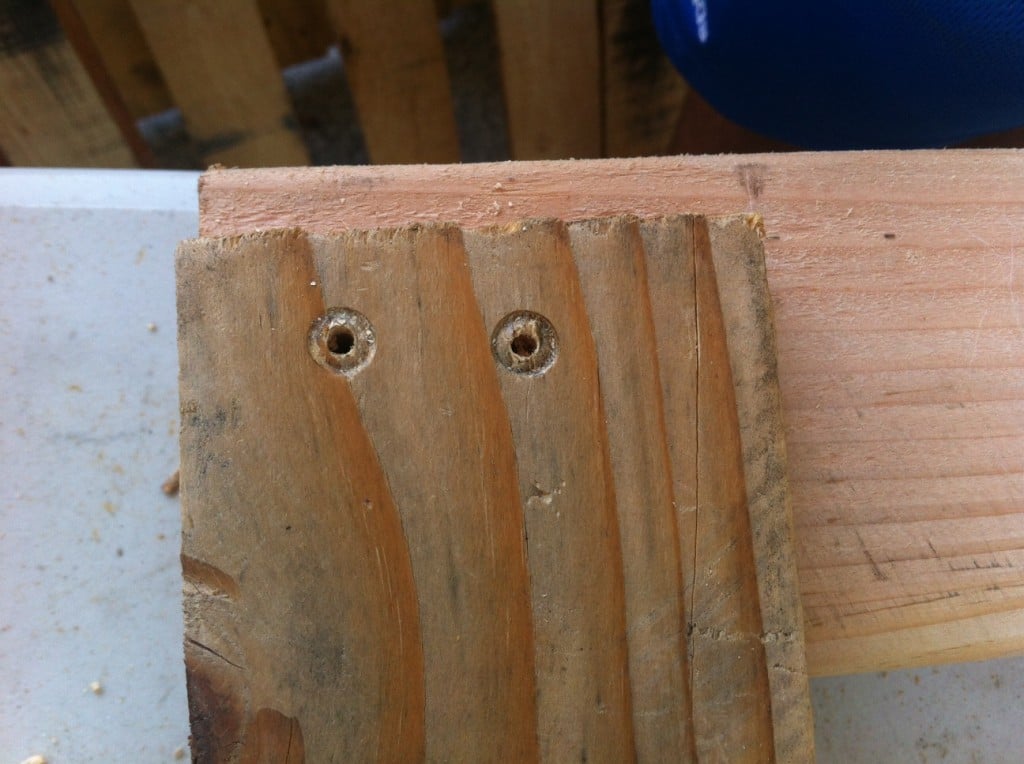
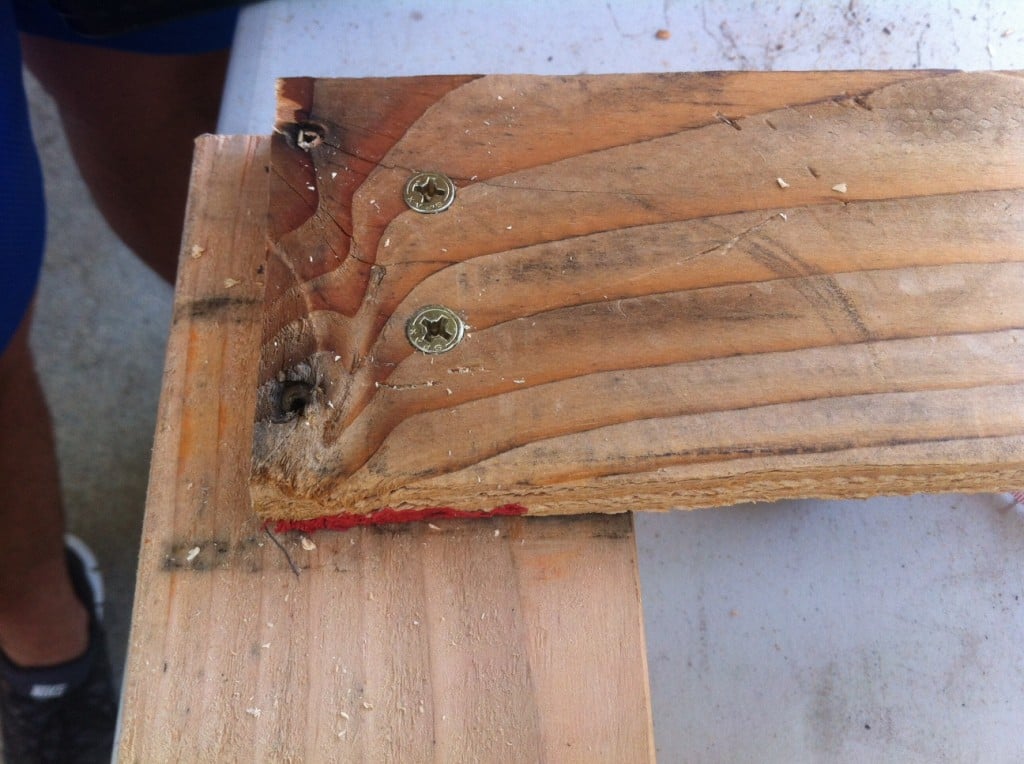
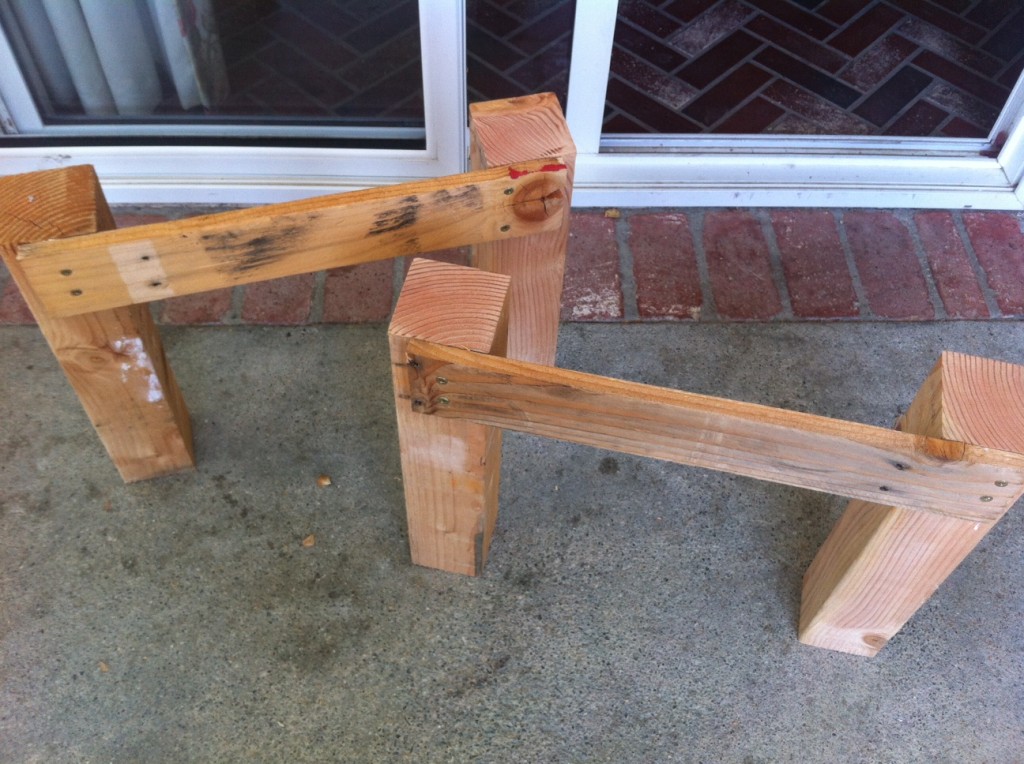
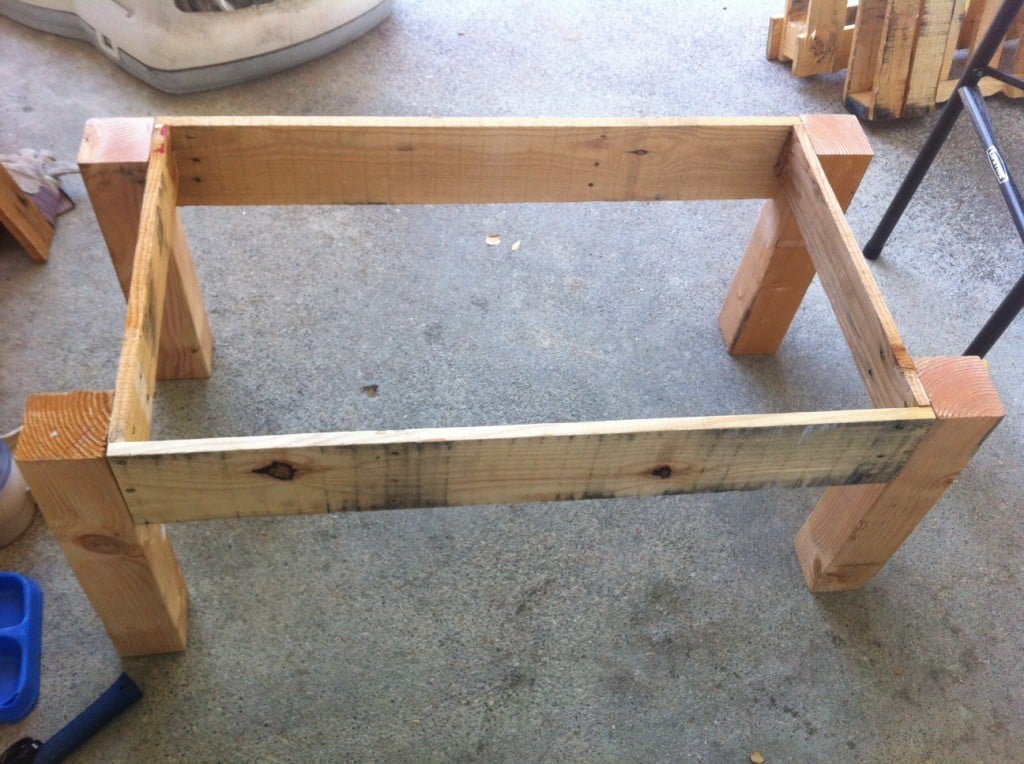
Everything else we either had at home, or used Pallet wood! First you have to decide how big you want your table. We based ours on how long the one of the pallet’s wood was. We then took 2 of the legs (the posts from HD), and screwed on a side apron to both sides. We took a drill bit to it first, then screwed in our screws.
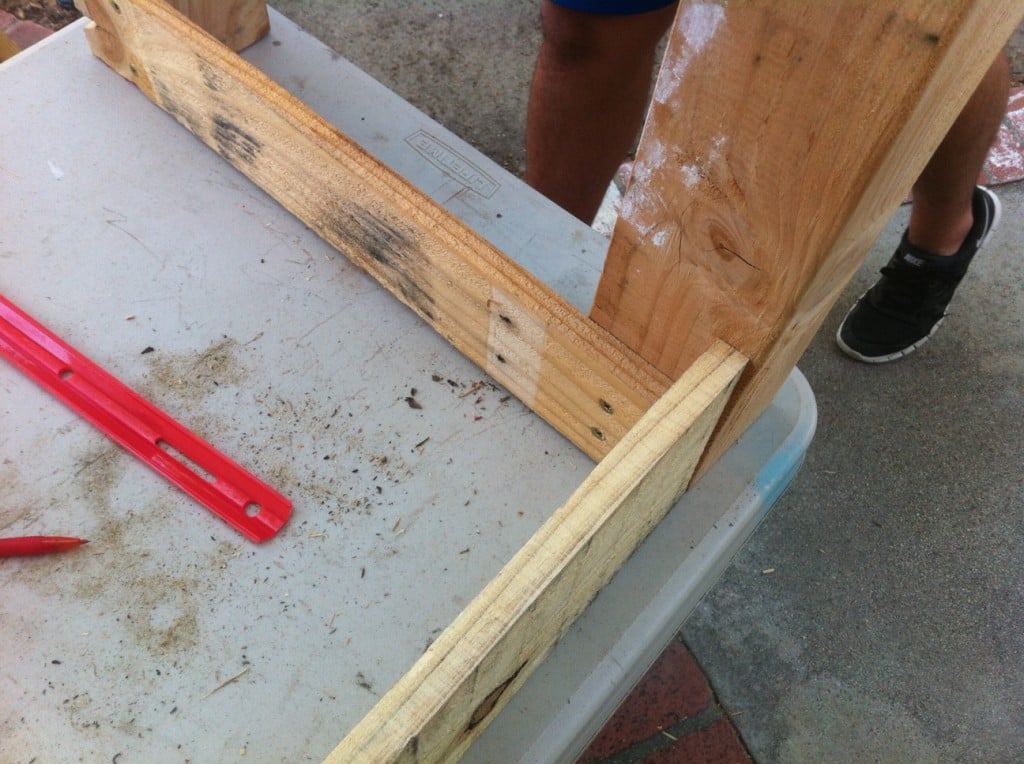
When we added these side aprons, we left enough room for our front and back aprons to fit. Then we attached those. We also added some gorilla glue between the pieces to ensure they stay put!
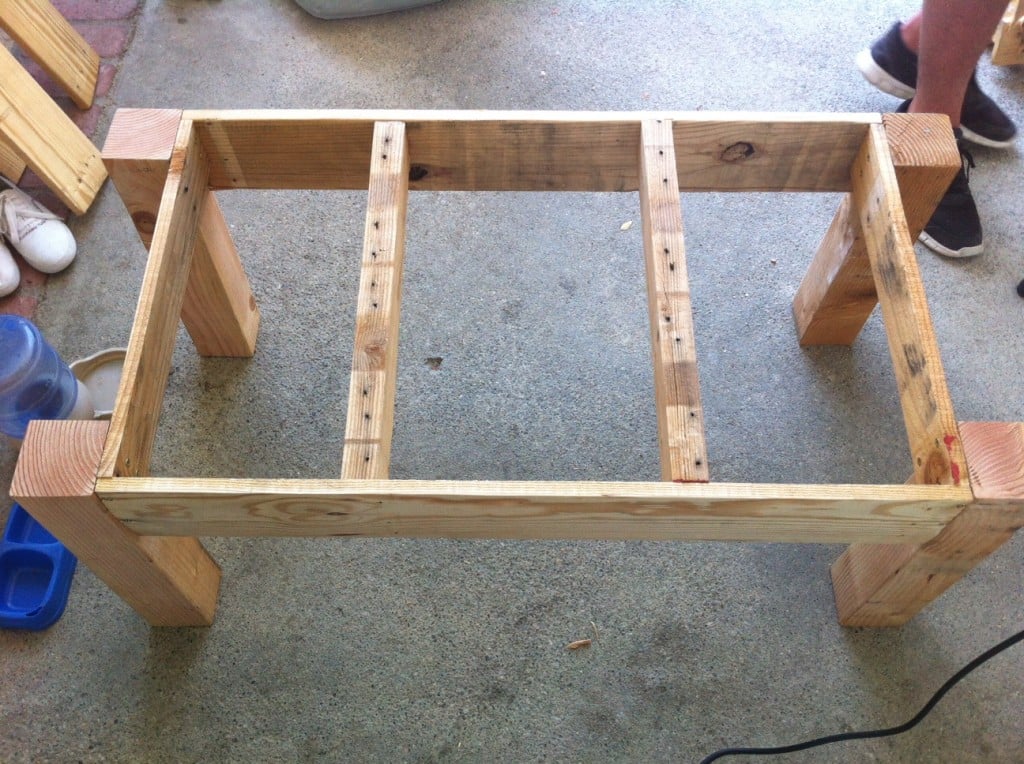
It is already looking like a table! yay! Now you will be to add some support beams. The amount is really up to you. We had some pieces of wood from the middle of a pallet and thought they would be good supports. We just used two and think it will be enough support to hold our drinks and our feet!
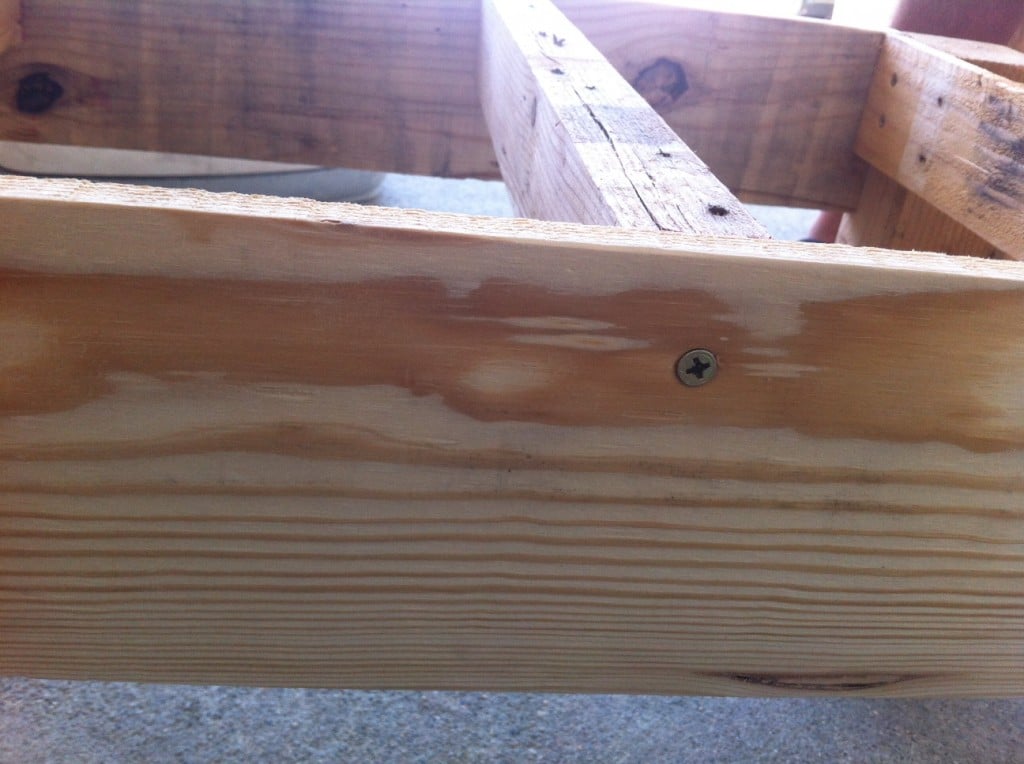
We screwed them in through the side support.
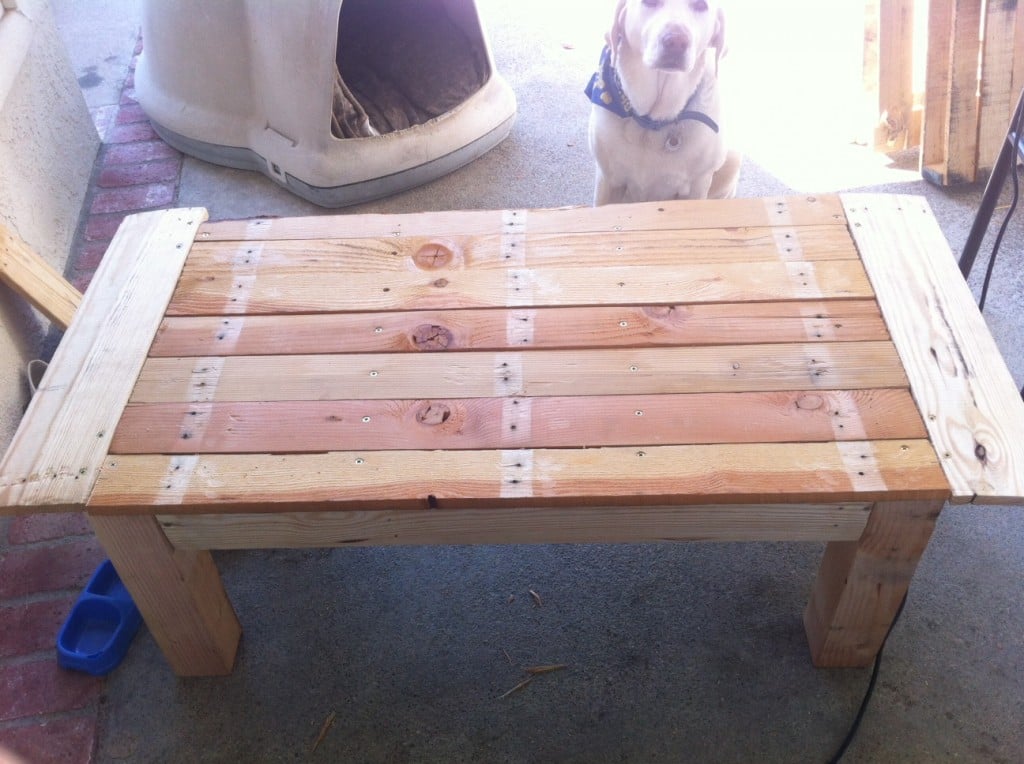
Then we did some more measuring of our middle top pieces and how much room we had to add our end pieces, and started screwing everything in!
Then we freaked out for about 10 minutes because it was really coming together! Sophie (the cute doggie) was so excited too! Then we sanded and stained…
Then we let that dry, and later on we added a coat of poly urethane to make it shiny and finished. This picture was taken and night and I realize now it is aweful!
This morning we brought it inside to sit in its temporary home!


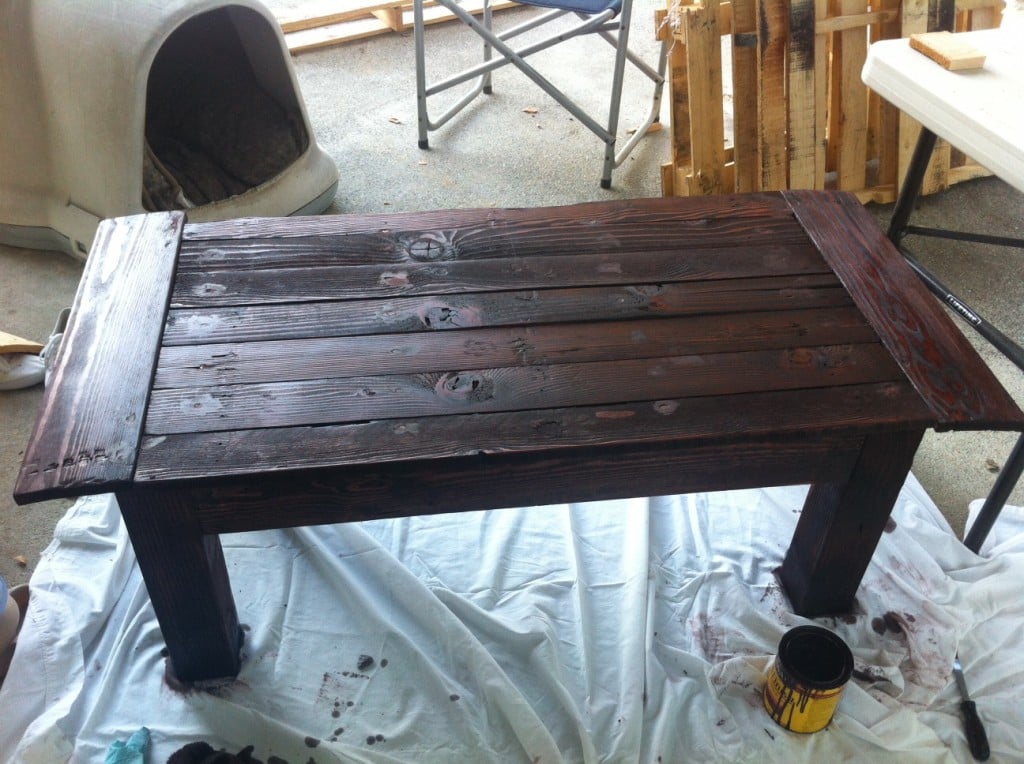
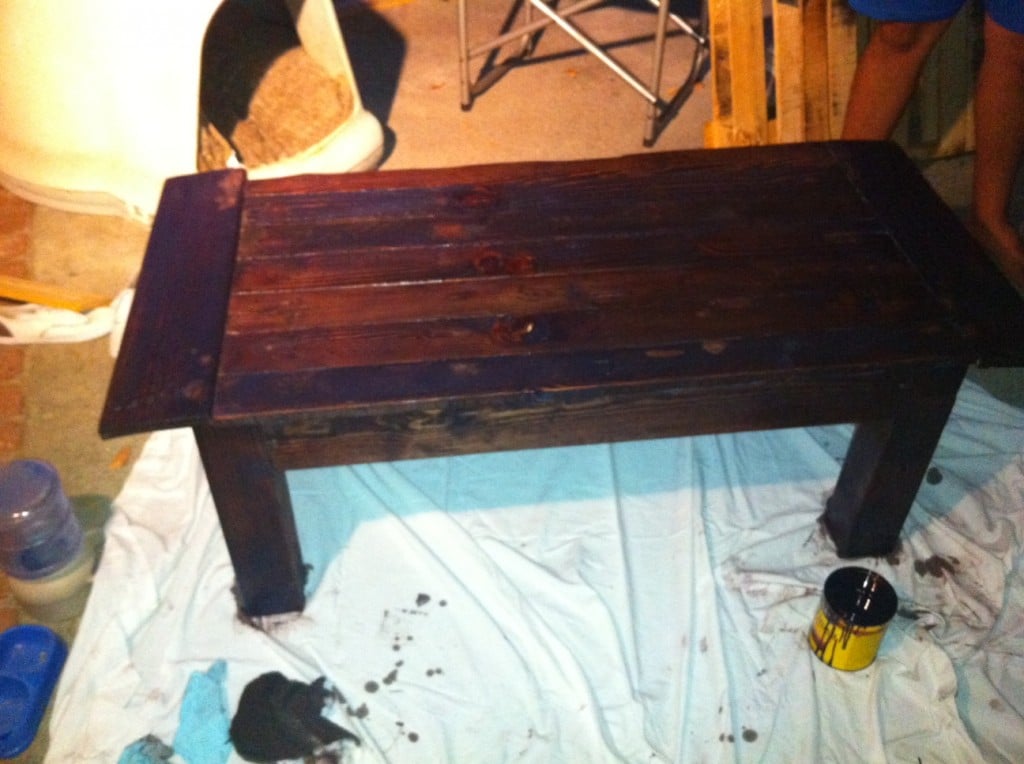
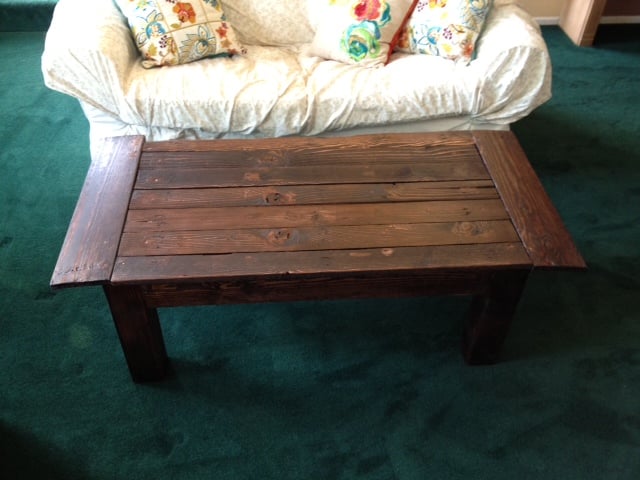
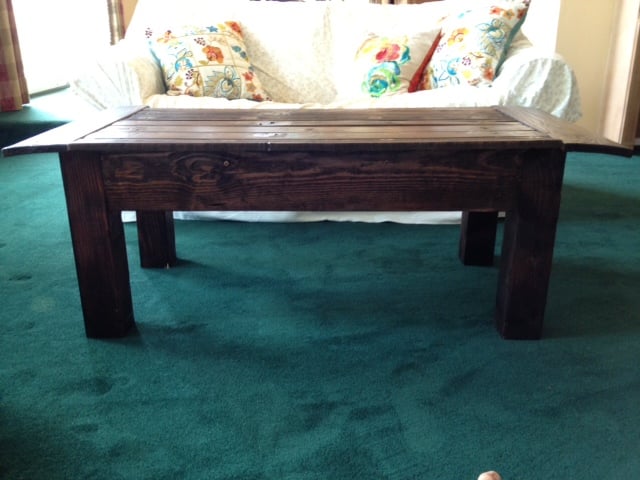
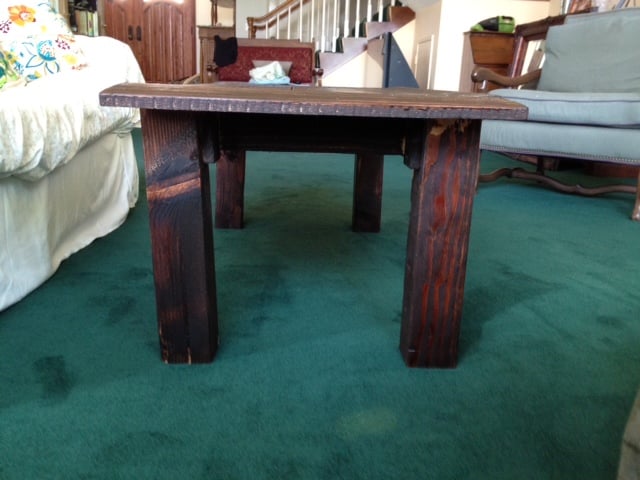
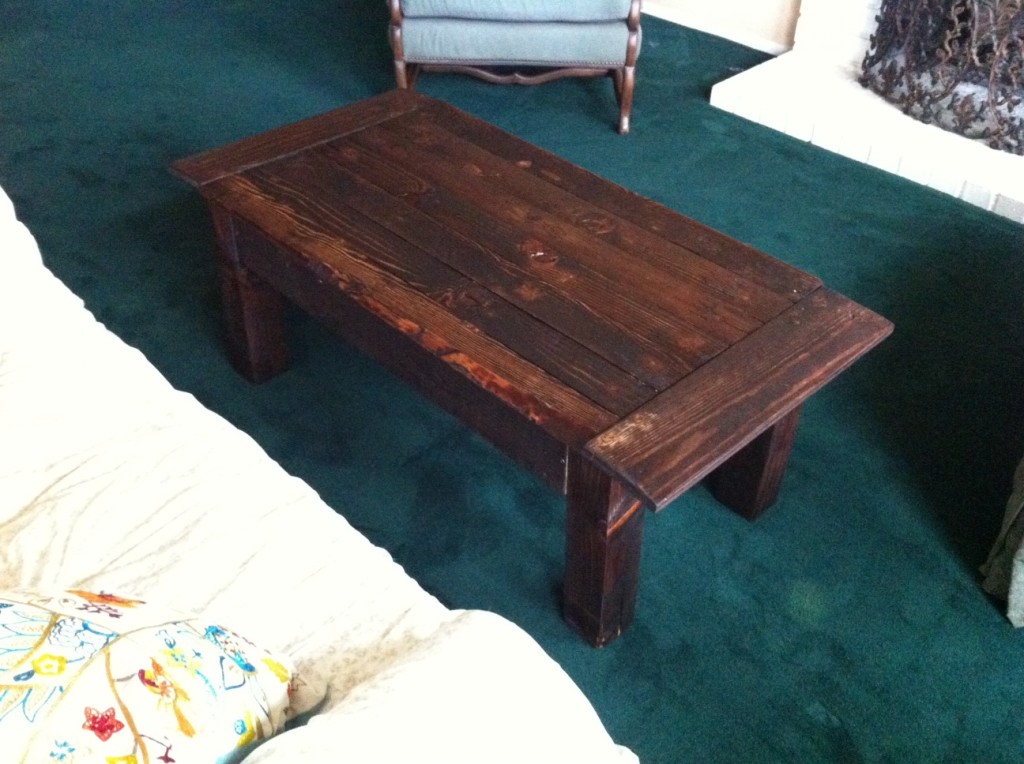
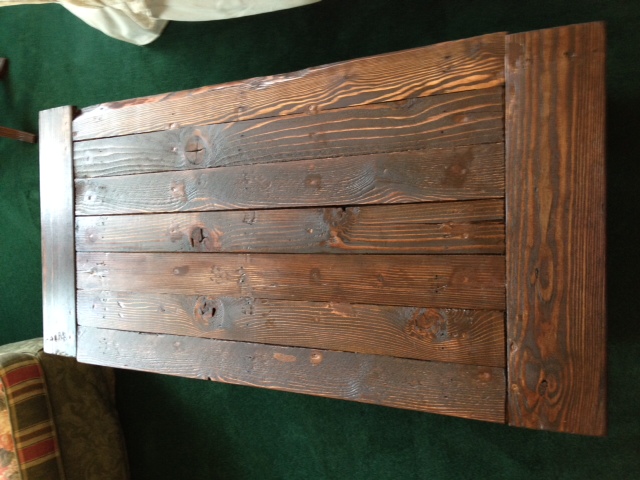





That stain is killer. bargain shopperrrr!
Hey Kelsey! Love your table; it’s totally gorgeous. But I have an idea to add more strength to the overhanging boards; well, actually two suggestions…
You used screws, so you could take it apart (maybe?) but Gorilla Glue as well? So, in that case, if you should place (at least two) brackets under the overhanging trim boards (maybe even three, I can’t tell how long your piece is). Otherwise, they may not stand up quite as well as you might like over time, with the possibility of twisting or, even worse, complete structural failure (running length-wise like this unsupported, there’s a lot less strength to wood): If you ever decided to make this project again, I’d suggest that you have a smaller over hang – with at least one-half the width of the edge boards supported by the corner post/legs. Hopefully all of this makes sense? With best wishes, Deb
Sorry, I almost forgot… The other idea was (sheesh, this is hard to put into words): if you turned the leg assembly around (so that the board is now on the outside of the legs) you could have supporting framework under a larger part of the (table-top) boards…