Skip to content
Don't Miss A THING - get new posts delivered by email!
Recipe Index
Recipes by Course
Breakfast
Appetizers
Snacks
Lunch
Dinner
Side Dish
Drinks
Dessert
Recipes by Diet
High Protein
Gluten Free
Dairy Free
Paleo
Nut Free
Vegan
Vegetarian
Whole30
Recipes by Protein
Beef
Fish
Turkey
Pork
Egg
Chicken
Recipes by Cooking Method
Grill
Instant Pot
Oven
Stovetop
Slow Cooker
No Bake
Smoker
Recipes by Holiday
football food
4th of July
Birthday
Halloween
Thanksgiving
Christmas
Easter
Valentine’s Day
Favorites
Podcast
eBooks
Life
Shopping Lists
Skin Care
Cookbook
Shop
Info
Subscribe
About Me
Contact
Work With Me
Collaborate
About Me
Contact
Search
Home
›
DIY
DIY
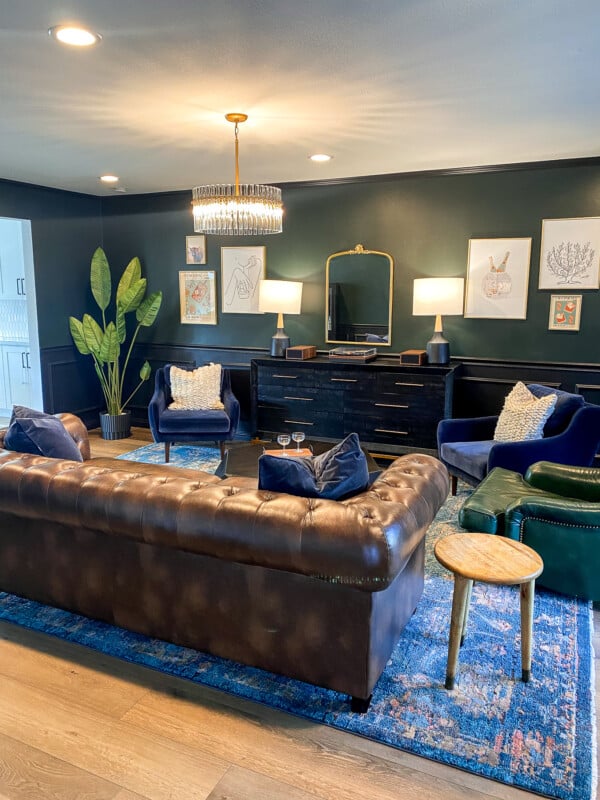
Moody Cocktail Lounge Living Room
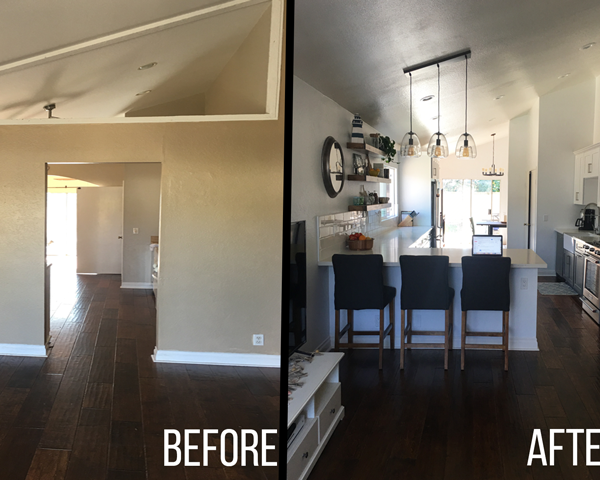
My Kitchen Remodel: Before & After!
Wedding Details!
How to: Paint Your Kitchen Aid Mixer