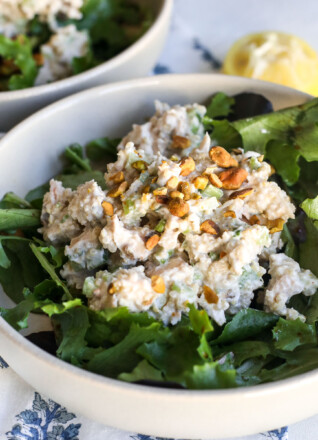
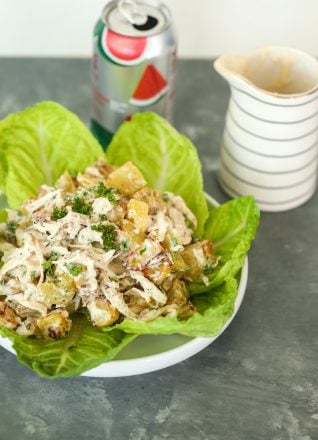
Refresh your mealtime with our zesty Lemon Quinoa Chicken Salad recipe! Packed with flavor and protein, it’s a delicious and nutritious choice. What makes...
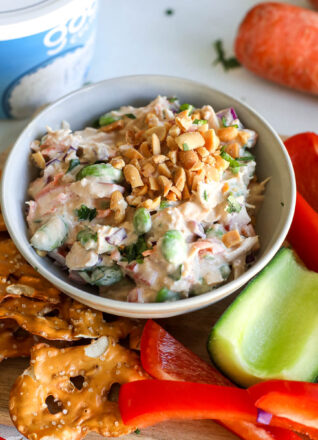
Elevate your snacking with High Protein Tahini Tzatziki—blending cottage cheese and Greek yogurt for a flavorful dip! Try it now! What makes this recipe...
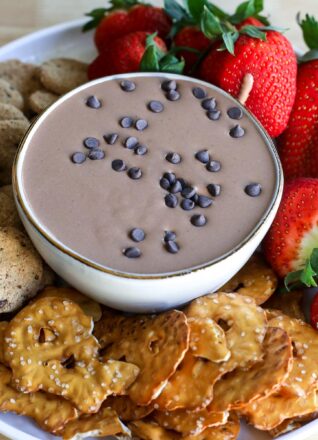
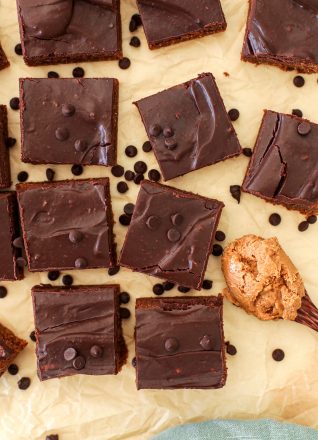
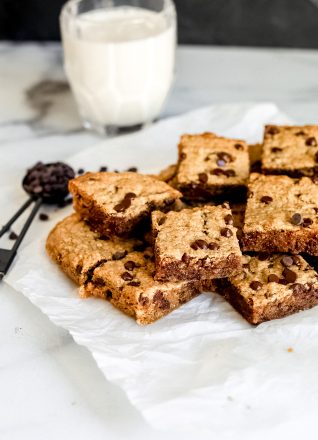
Indulge guilt-free with our High Protein Brownie Batter Dip! Made with cashews, Greek yogurt & protein powder. Perfect for satisfying cravings! What makes this High...